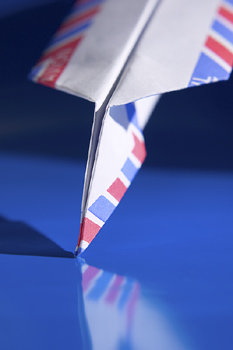
How to Make a Paper Airplane
Growing up, knowing how to make a paper airplane was the difference between being cool and being totally lame. Though there are many different paper airplane designs to choose from, I find this simple glider fool-proof and easy to “pilot” to a soft landing.
First, gather your materials — one sheet of notebook or stationary paper will work fine. Make sure you have a clean and flat work surface to make your airplane on. If you want to be really fancy, you need a pair of scissors or paper shears. If you’re under the age of 10, make sure you have your parent’s permission to use a sharp pair of scissors.
Making Paper Airplanes
Now that you’ve got all your materials, it is time to start making paper airplanes. Start by folding the paper in half lengthwise. Make a nice hard crease on this fold, then reverse it and crease it again. This is the “backbone” of your plane, and is the most important step. Also make sure that the edges of your paper are lined up so they are “flush” with each other before you crease the fold.

How to Make a Paper Airplane
Next, fold down the top left corner until the top line of the left half of your paper is lined up with your first fold. Do the same thing with the top right corner.
The next step is to fold the point down. You will notice a “point” at the top of your page after you complete the first few steps — this is the “point” that needs to be folded down (toward your body) so that the flaps you made in the first few steps sit inside the fold. Make this fold as high up on the page as you can without ruining the flaps inside it. To complete this step, just fold the paper in half lengthwise towards the back of the paper so that your point is now on the outside of the paper.
If you’re using scissors, get them out now. Tear or cut a small notch in the upper corners of the paper. You’ll be cutting out a square notch about a half inch from the outer corners of the paper. Don’t cut the notch along the center fold or you’ll ruin the plane.
Folding a Paper Airplane
Rotate the page clockwise so that the angled part of the plane sits on the right and your square edge is on the left hand side. Now fold down your wings. Flip the page over, and ensure that the fold you built earlier is down against your table or other surface and the angled edge sits at the top of the page. Fold down the left wing as well.
Your paper airplane is now finished and ready to pilot all over your house or yard.
You can build a whole army of paper airplanes and race them with your friends, or launch a sneak air attack on your little sister. Whatever you do, make sure not to throw the airplane directly at someone, as you could injure them. Have fun.
