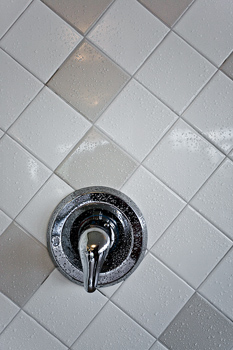
How to Tile a Shower Wall
Tiling your shower is not as difficult as it sounds. Once you learn how to tile a shower wall, you’ll be able to redesign your restroom in a weekend’s time. New tiles in your shower not only makes your bath look brighter and better, but you can also remove mold and mildew that’s accumulated over the years.
Tile Shower Installation Guide
This tile shower installation guide will show you how to go about tiling your shower wall in a few easy-to-follow steps. Remember to take your time, maintain your patience and prepare ahead of time for successes and challenges.
Remove the Old Shower Tiles
If you had shower tiles on the wall before, remove them before you put the others on the wall. I know this should go without saying, but you never know when someone gets confused.
Start from the Bottom
When tiling your shower wall, it might seem right to start from the top with a full tile. People start looking high and their eyes move downward, like reading a page, and a handyman might think you would start at the ceiling, to make it uniform. Instead, you start at the bottom.
Measure out the center line of the back wall. Then use a level to measure out where the bottom tile should go. Remember to keep the tile level.
Use a Trowel to Apply Mortar
Using a trowel, place ceramic tile mortal on the shower wall. Leave a small gap between the edge of the shower or tub material.
When applying mortar to a wide area, only apply to an area small enough that you can place tile on there in the next 10 minutes. If you go beyond that, the mortar starts to dry out and it’s counter-productive.
Don’t worry if the mortar squeezes out between the tiles. Wipe the excess grout off with your damp towel.
Tile from the Center – Up and Out

How to Tile a Shower Wall
Apply the center tile, then move up and out from there. This means you want the center tile to be truly centered, then make the more problematic pieces on the edges of your tile. Make a bottom row, then tile your way up the wall.
Cutting the Edge Tiles
When you get to the edge of your tile work, or around faucets and other fixtures, you need to use a nipper or micro-cutter to cut the tiles to specifications. Mark where you need to cut with a pencil, then make your cuts accordingly.
Applying Grout
Once you have your tile on the wall, apply grout to seal the tile joints on the wall. Apply only a small amount of grout at a time and wipe clean before the grout has a chance to harden. Use a damp cloth to wipe the grout and make sure the joints look nice, clean and uniform.
Let the grout set for half-an-hour, then buff the shower wall tiles with a dry cloth. Buff thoroughly.
Apply Caulk
To avoid leaks and water damage, you want to caulk the fixtures, the corners of your tile and the base of the shower. Make sure the moisture is sealed in, because water damage is going to cause all kinds of long term problems.
Grout Sealer Comes Later
After two or three days to let the grout set, apply a grout sealer to your grout. Otherwise, your grout is going to become porous and the constant flow/presence of water is going to cause your grout to flake.
Tiling a Shower Wall
Now you know how to tile a shower wall. Tiling a shower is going to take a little time, but there’s nothing hard or complicated about it. Keep your patience, prepare for a weekend of work and tile your shower walls step by step.
